
I have been MIA on this blog and that means I am spending a lot of time with my kid and busy creating memories :) I didn't post anything for the past few months and it's time to post each and every update.
Let me start with this super easy and kids-friendly Christmas Tree craft that my kid and I made today.
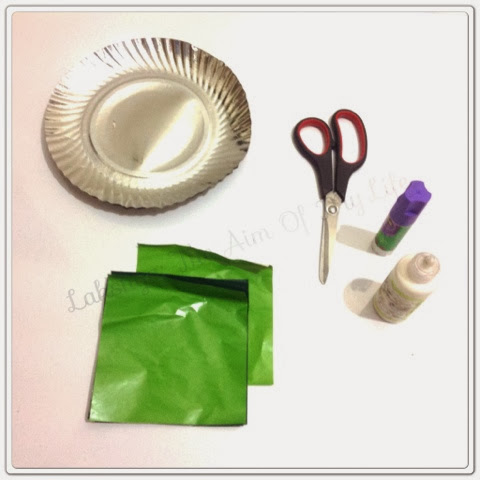
Supplies:
Paper plate
Green craft paper
Scissors
Glue
Stones/sequins/ thermocol balls/buttons
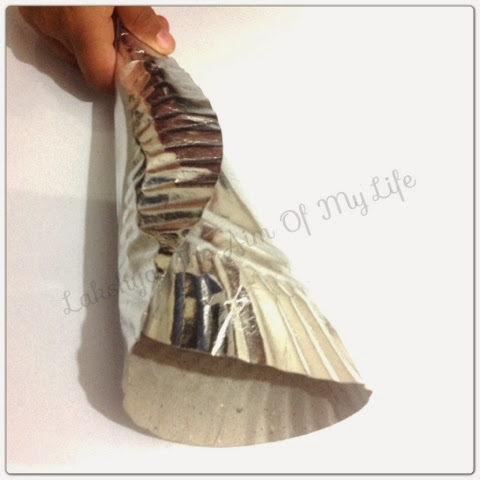
1. First fold the paper plate to make a cone as shown in the image below. You can use chart paper instead of a paper plate.
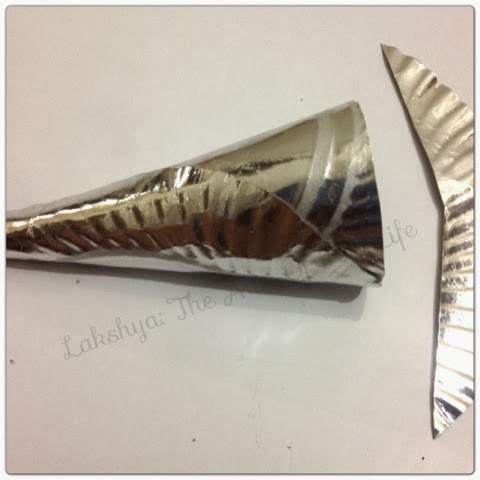
2. Cut the extra part of the paper plate to make an even base. Now you can keep it upright.
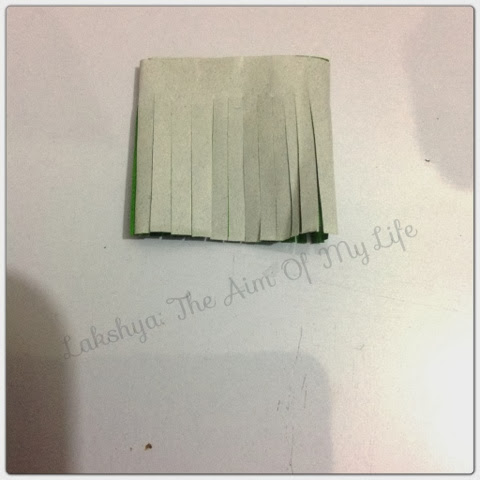
3. Cut 2" wide stripes of green chart paper. You can paint white paper green if you don't have green craft paper.
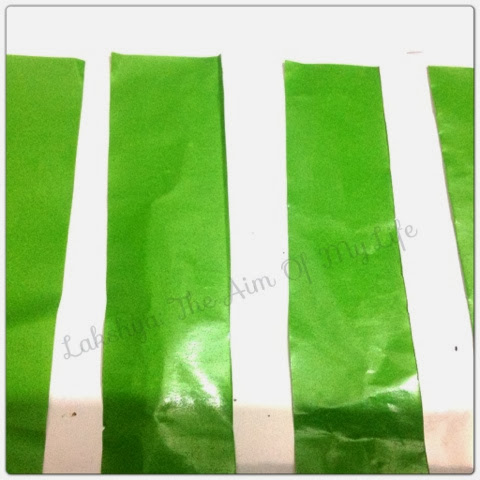
4. Now fold each stripe and cut as shown in the image below.
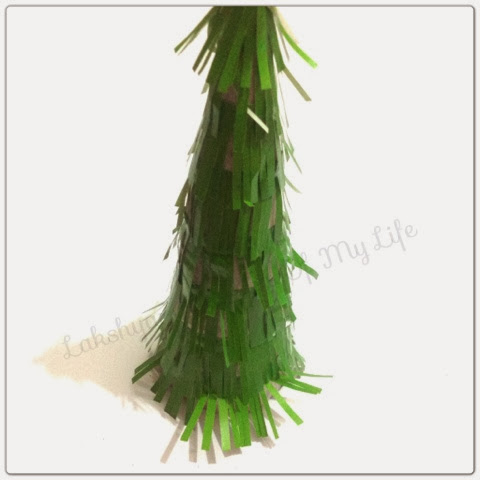
5. Now apply glue on the reverse side of the stripes and stick it on the paper plate cone as shown below. Start from the base and work your way up.

6. This is how it will look after sticking all the stripes.
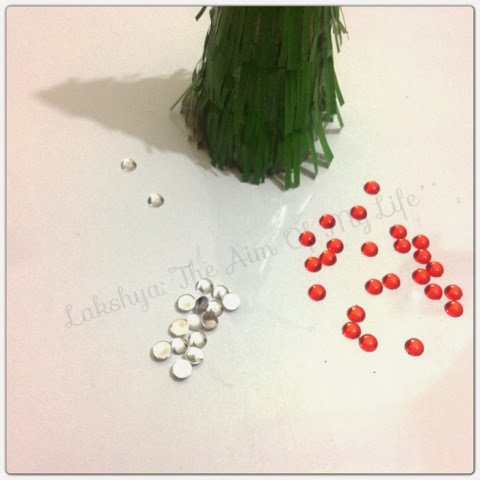
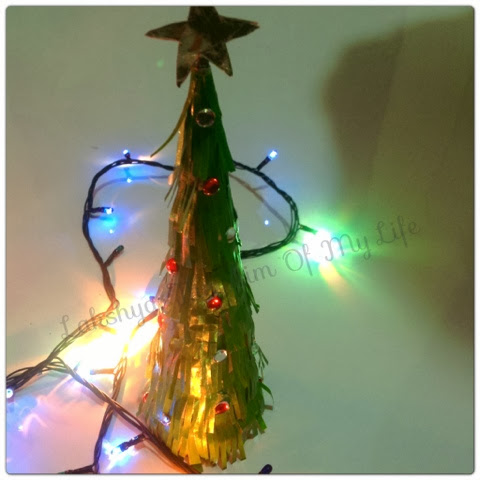
7. Now comes the decoration part. I chose red and white stones for my Christmas tree. You can decorate it with sequins, thermocol balls, buttons, satin roses, quilled flowers or any other thing that you find interesting and suitable.
8. Here is the complete tree. I cut out the star from a leftover paper plate and put it on top of the tree.
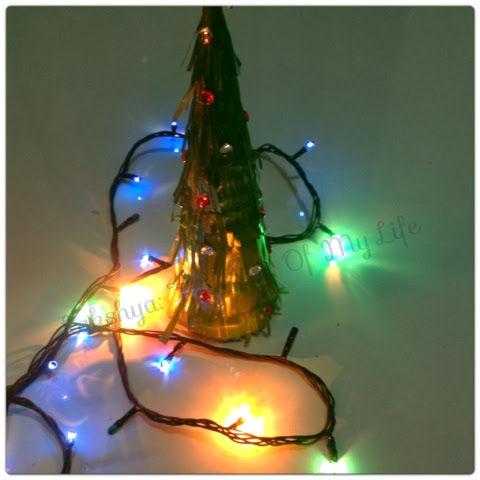
9. Here is a star on the top. Yay, my Christmas tree is up :)))
Hope you liked the craft. For more Christmas craft ideas click here.
Linking this to #HuesnShadesXmasDIY
.JPG)